Contouring is one of my favorite steps in applying make-up and always surprises me that for most women, it is often a skipped step. When you apply foundation to your entire face, you are creating a blank canvas, making it critical to go back and add the dimensions back in. Technically, contouring is about shadows and light; if you’ve ever taken an art class you’ll remember that you use darker shading to push an area inward and lighter shading to pull an area outward. This is great for creating the appearance that you have a stronger jawline, more defined cheek bones, a slimmer face and nose. For the red carpet or a photo shoot, I’ll take the time and use both cream-based cosmetics for contouring and then go over it with powder-based ones for extra intensity and longevity. But you can just use powder based ones if you were only to pick one or the other.
Cheekbones
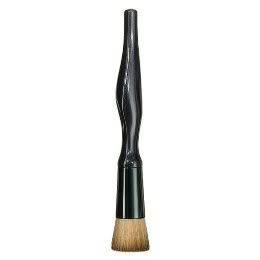
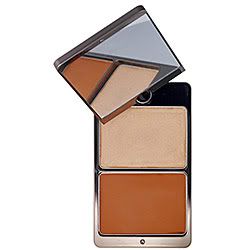
Immediately after applying foundation all over the face and neck, look in the mirror and suck in your cheeks. This helps to see exactly where your cheek bones are. Then with your fingers, feel precisely where the bottom of them is. Depending on your age, your cheek bones might not have come in yet (mine didn’t arrive until I was 24!), or if you are holding on to a few extra pounds during a certain time of the month, they might be hiding. This is where contouring can become your best friend. Using a sponge (The Beauty Blender Egg) or blunt-shaped brush (Sonia Kushak Synthetic Flat Blusher Brush), apply a cream-based bronzer or foundation that is at least 3 shades darker than your own skin color exactly under your cheekbones, from the apples of your cheeks all the way to your ear. Blend lightly with your fingers but not too much to lose the drama. This will create more of a shadow that would appear if you had really strong cheekbones. Then apply a cream-based highlighter above your cheekbones to draw the light to the area. I love Hourglass Illume Bronzing Duo because the darker shade is a pretty universal color for light-to medium skin tones and the lighter shade is a beautiful highlight with a hint of shimmer. My favorite cream-based foundation right now is CoverGirl Simply Ageless because it offers great coverage without feeling like you’re wearing any make-up.
Jawline
To really give the effect of a strong jawline, you’ll want to create a shadow directly under your entire jaw. Using the same cream-based foundation or bronzer, sweep it from underneath your ear to your chin, then finish at your opposite ear. Then continue to “color in” your entire neck (and chest if your wearing a plunging neck line) with the remainder of the product left on the sponge/brush.
Nose
Not everyone has a perfect little button nose, and if you’re like me and a lot of my clients, you might want to contour your nose a little, though this is the least dramatic and most subtle of the illusions. With a sponge, small eye shadow brush or your finger, take the same cream-based foundation or bronzer and “shade in” each side of the bridge of your nose (starting at the inner corners of your eyebrows and ending at your nostrils) if you want a slimming effect, or the tip of your nose if you want it to appear shorter. Then take the cream-based highlighter and apply it directly on top of the entire bridge. It is crucial to really blend with your fingers so it can’t be detected.
Forehead
Strictly speaking for the law of dimensions, don’t forget when applying bronzing to sweep it across your hairline and temples, because you’ve thinned out all the areas from eyes down, it wouldn’t look right if your forehead was still a blank canvas. This is also great when creating a sun-kissed glow, because the top of your forehead is the first place the sun would hit if you were outside.
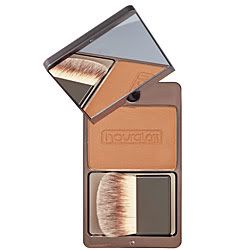
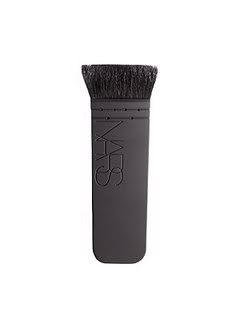
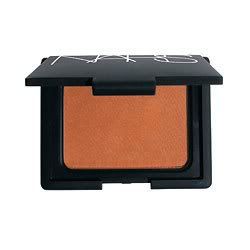
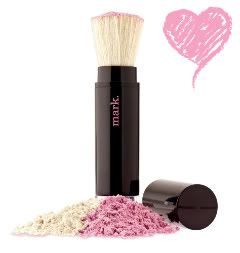
Finally, quickly repeat all the steps above with a powder-based bronzer and highlighter so it will last longer. I love NARS bronzer in Laguna if I want a little shimmer or Hourglass Superficial Waterproof Bronzer for a more matte look (both applied with NARS Ita Kabuki Brush) and my favorite highlighter right now is Mark Twinklebelle in Gold.
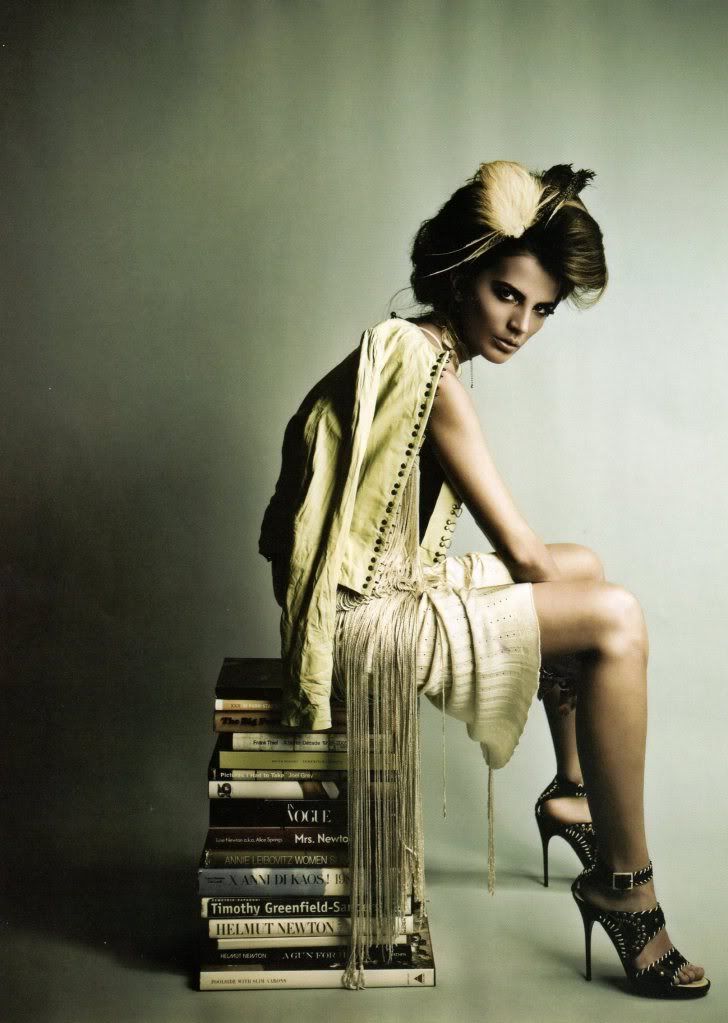
Here are a few more shots from my latest fashion story in the August 2009 issue of Malibu Magazine, shot by Tatijana Shoan.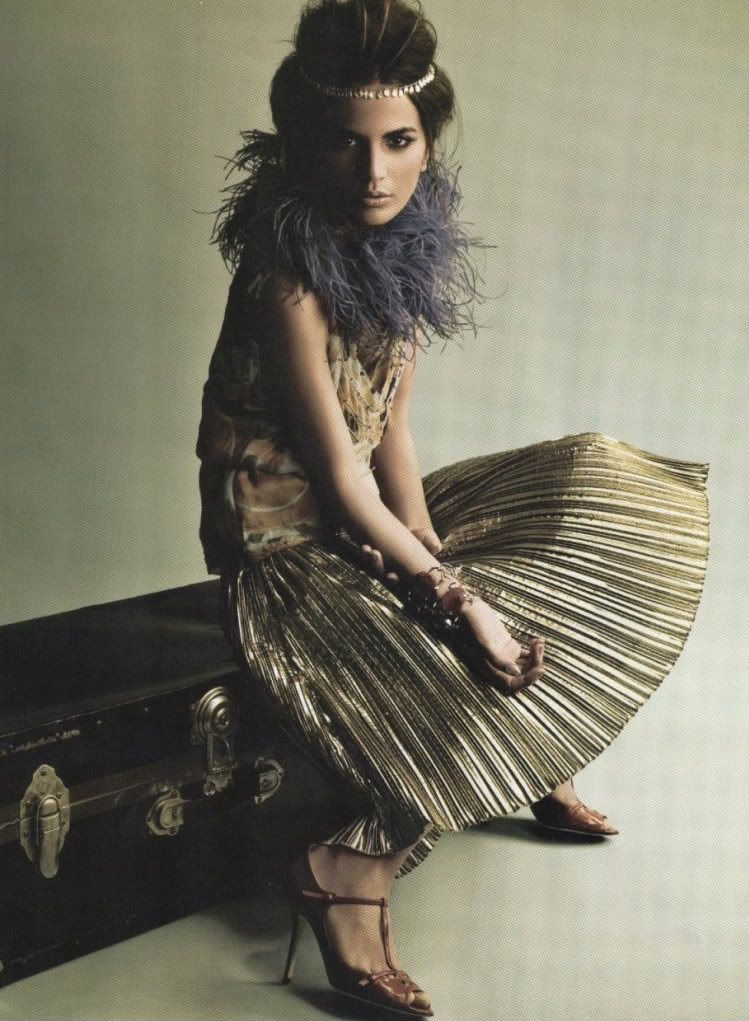
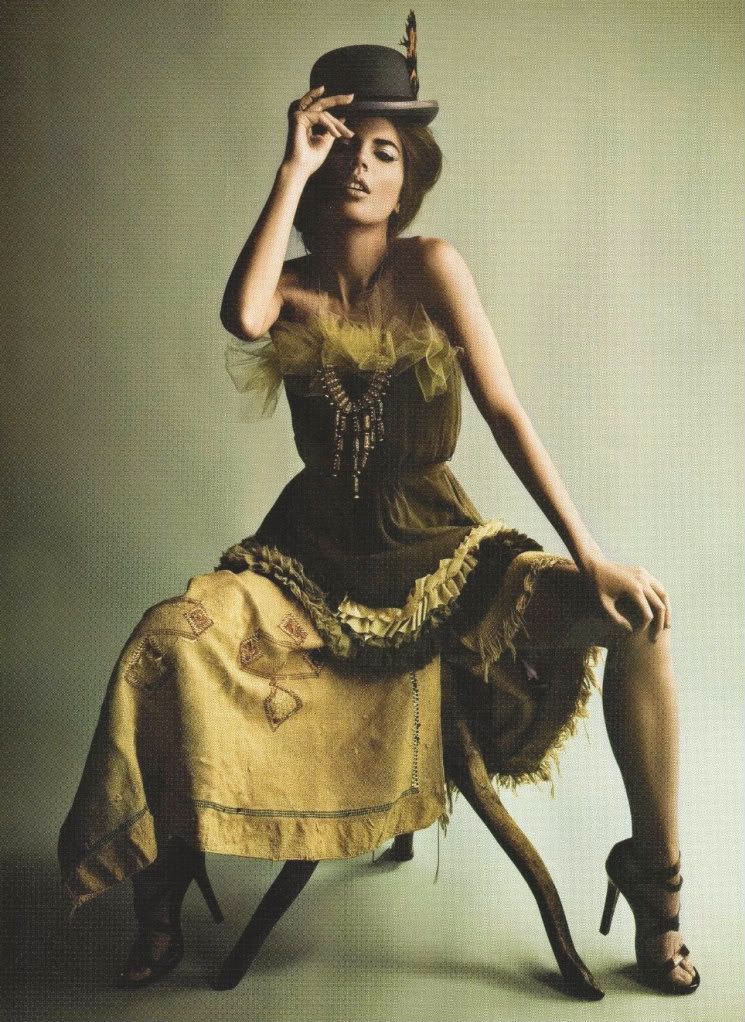
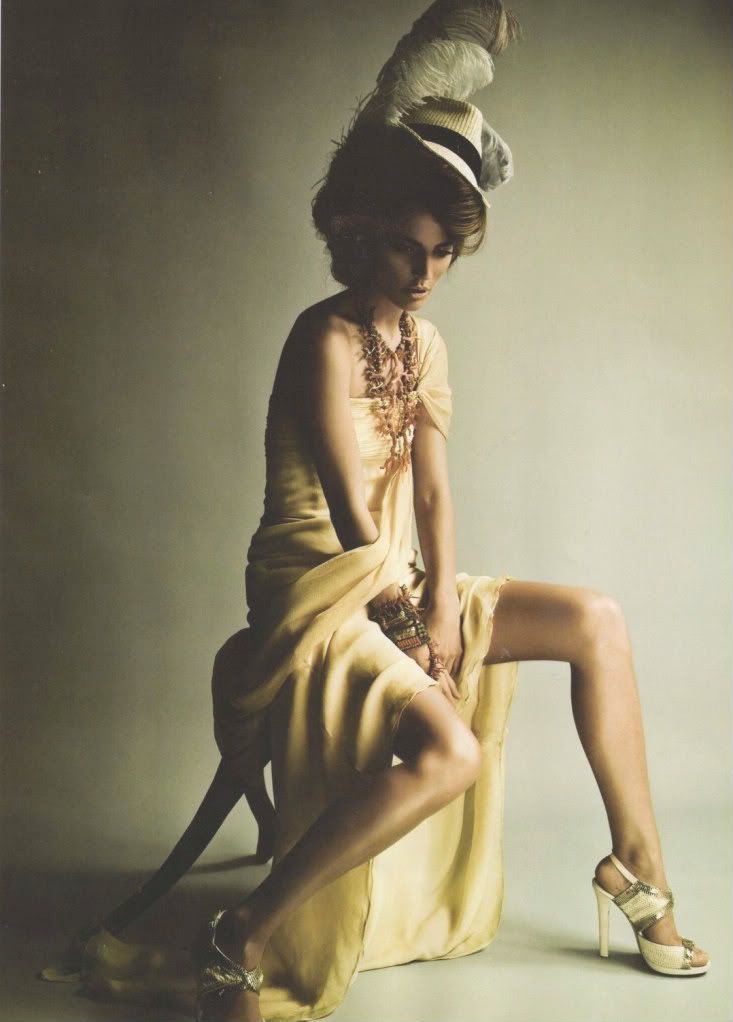
Photos courtesy of Malibu Magazine and Tatijana Shoan.